Exposing MCPs on the Public Internet
Control which MCP servers are visible to external callers (e.g., ChatGPT, Claude Desktop) vs. internal-only callers. This is useful when you want a subset of your MCP servers available publicly while keeping sensitive servers restricted to your private network.
Overview
| Property | Details |
|---|---|
| Description | IP-based access control for MCP servers — external callers only see servers marked as public |
| Setting | available_on_public_internet on each MCP server |
| Network Config | mcp_internal_ip_ranges in general_settings |
| Supported Clients | ChatGPT, Claude Desktop, Cursor, OpenAI API, or any MCP client |
How It Works
When a request arrives at LiteLLM's MCP endpoints, LiteLLM checks the caller's IP address to determine whether they are an internal or external caller:
- Extract the client IP from the incoming request (supports
X-Forwarded-Forwhen configured behind a reverse proxy). - Classify the IP as internal or external by checking it against the configured private IP ranges (defaults to RFC 1918:
10.0.0.0/8,172.16.0.0/12,192.168.0.0/16,127.0.0.0/8). - Filter the server list:
- Internal callers see all MCP servers (public and private).
- External callers only see servers with
available_on_public_internet: true.
This filtering is applied at every MCP access point: the MCP registry, tool listing, tool calling, dynamic server routes, and OAuth discovery endpoints.
Walkthrough
This walkthrough covers two flows:
- Adding a public MCP server (DeepWiki) and connecting to it from ChatGPT
- Making an existing server private (Exa) and verifying ChatGPT no longer sees it
Flow 1: Add a Public MCP Server (DeepWiki)
DeepWiki is a free MCP server — a good candidate to expose publicly so AI gateway users can access it from ChatGPT.
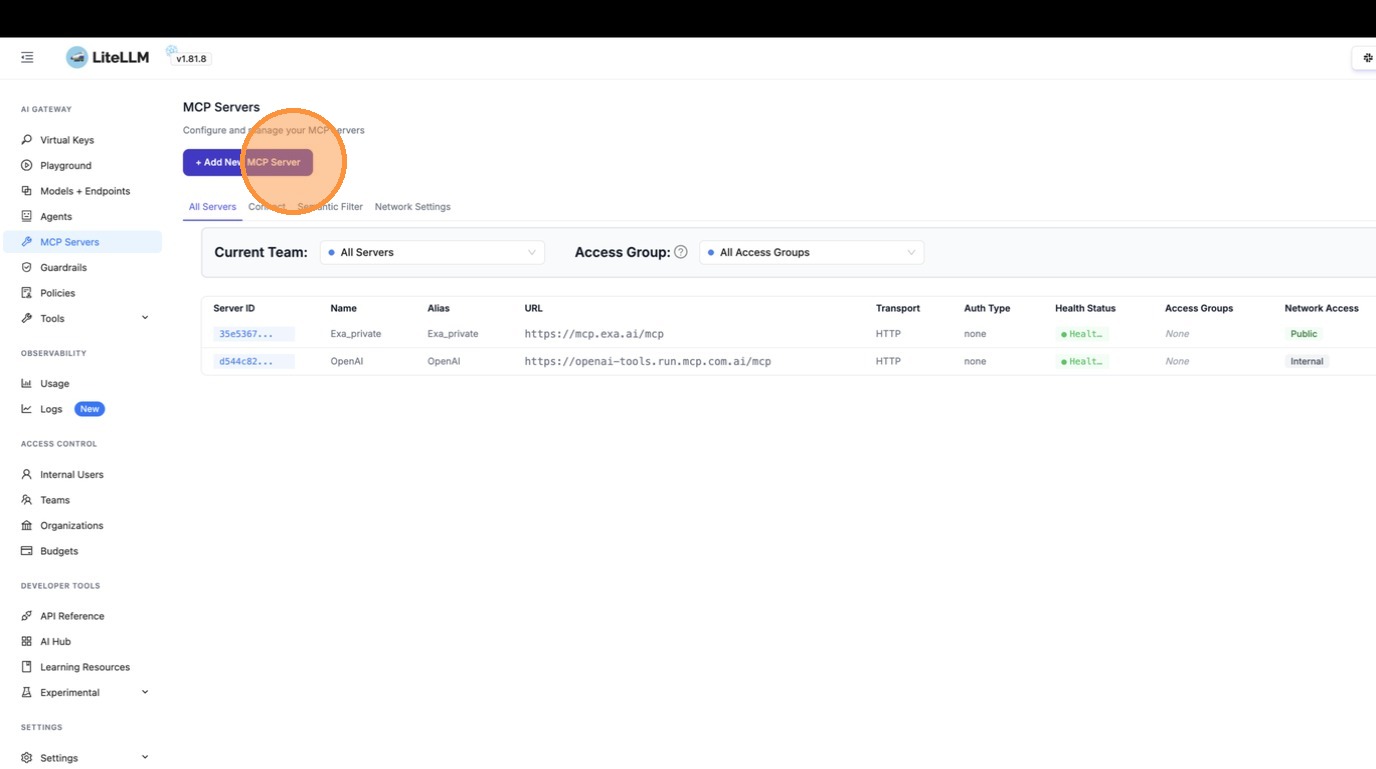
Step 1: Create the MCP Server
Navigate to the MCP Servers page and click "+ Add New MCP Server".
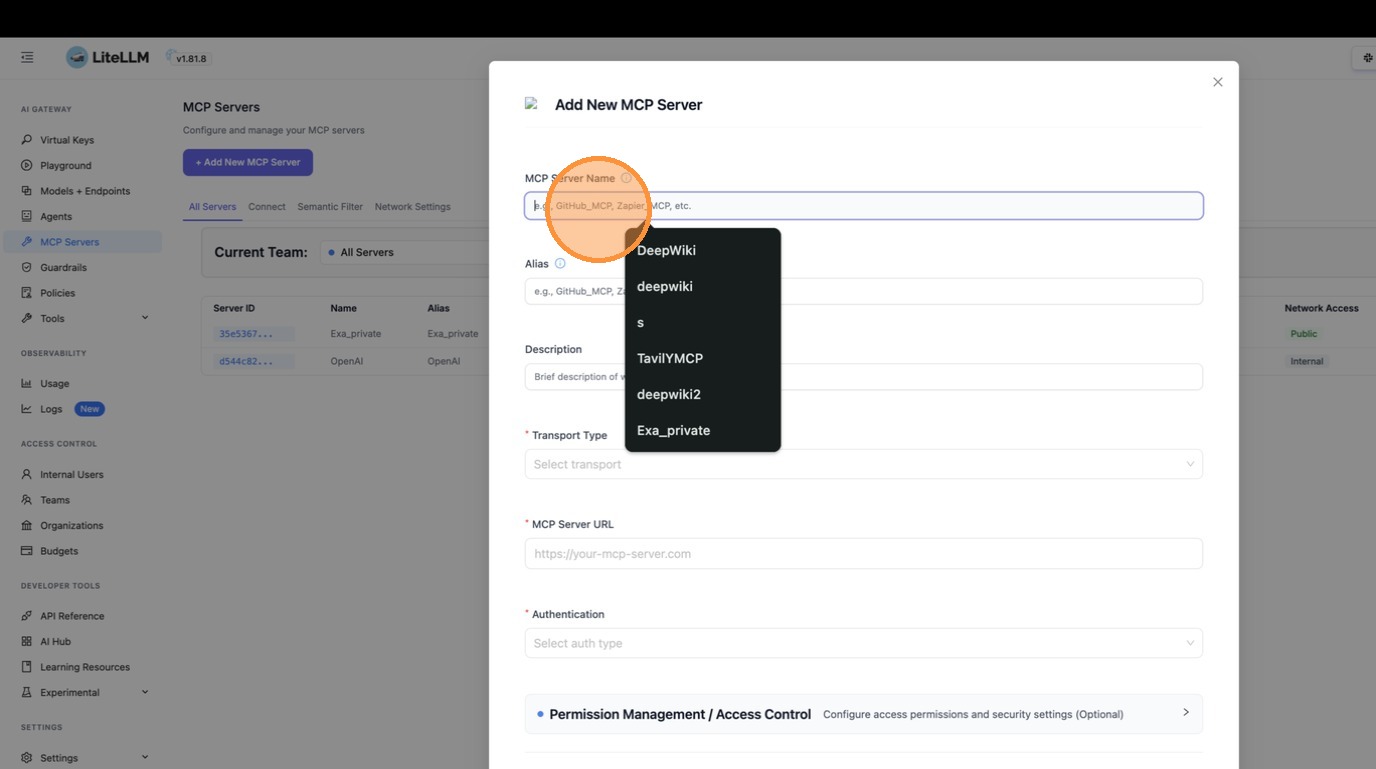
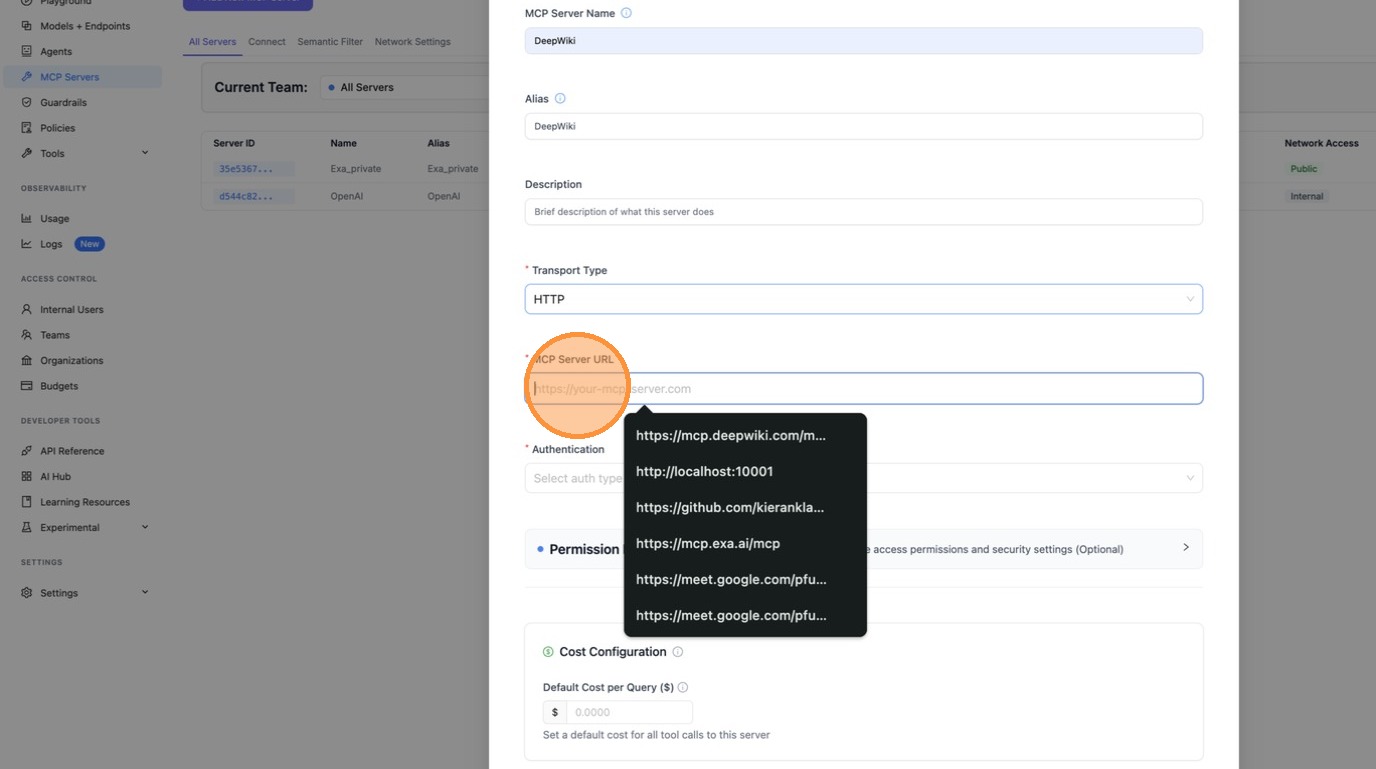
Enter the server details — name it "DeepWiki" and set the URL to https://mcp.deepwiki.com/mcp.
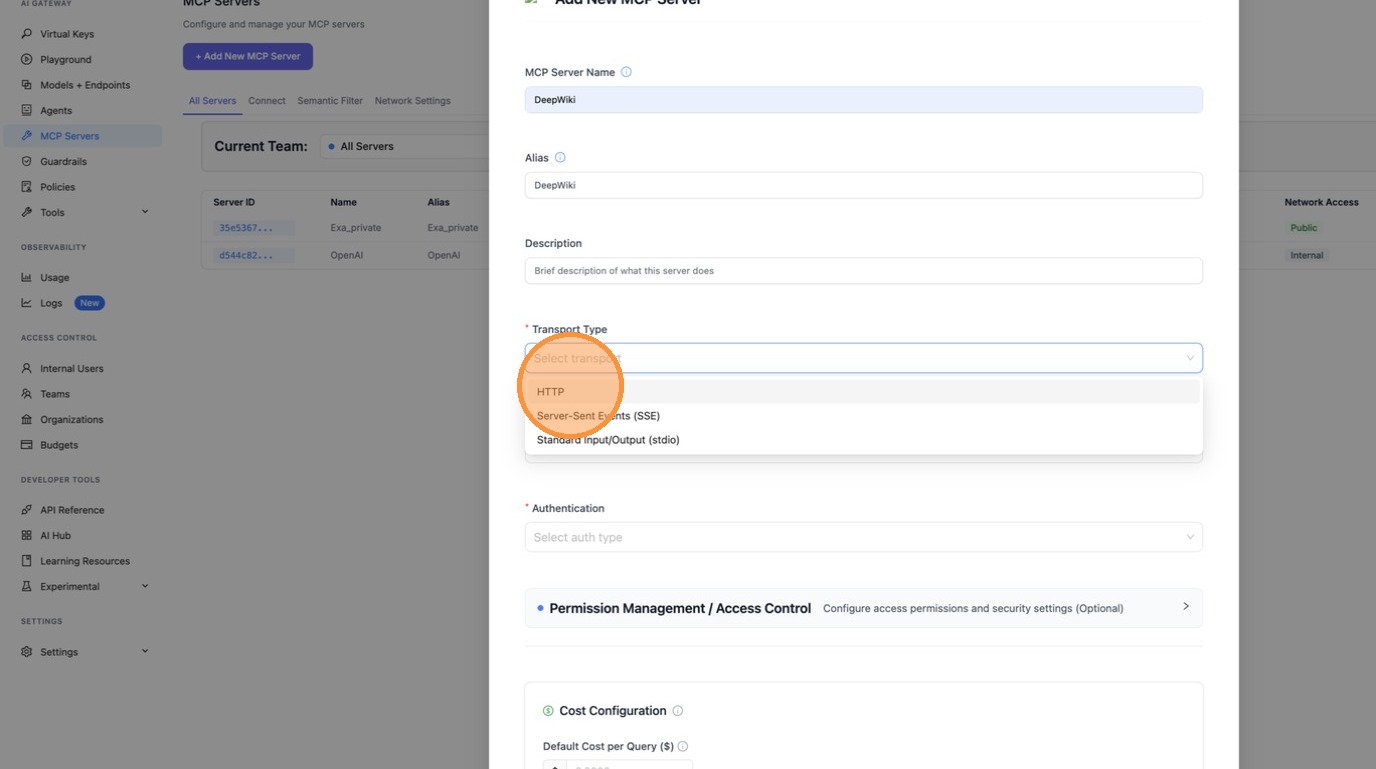
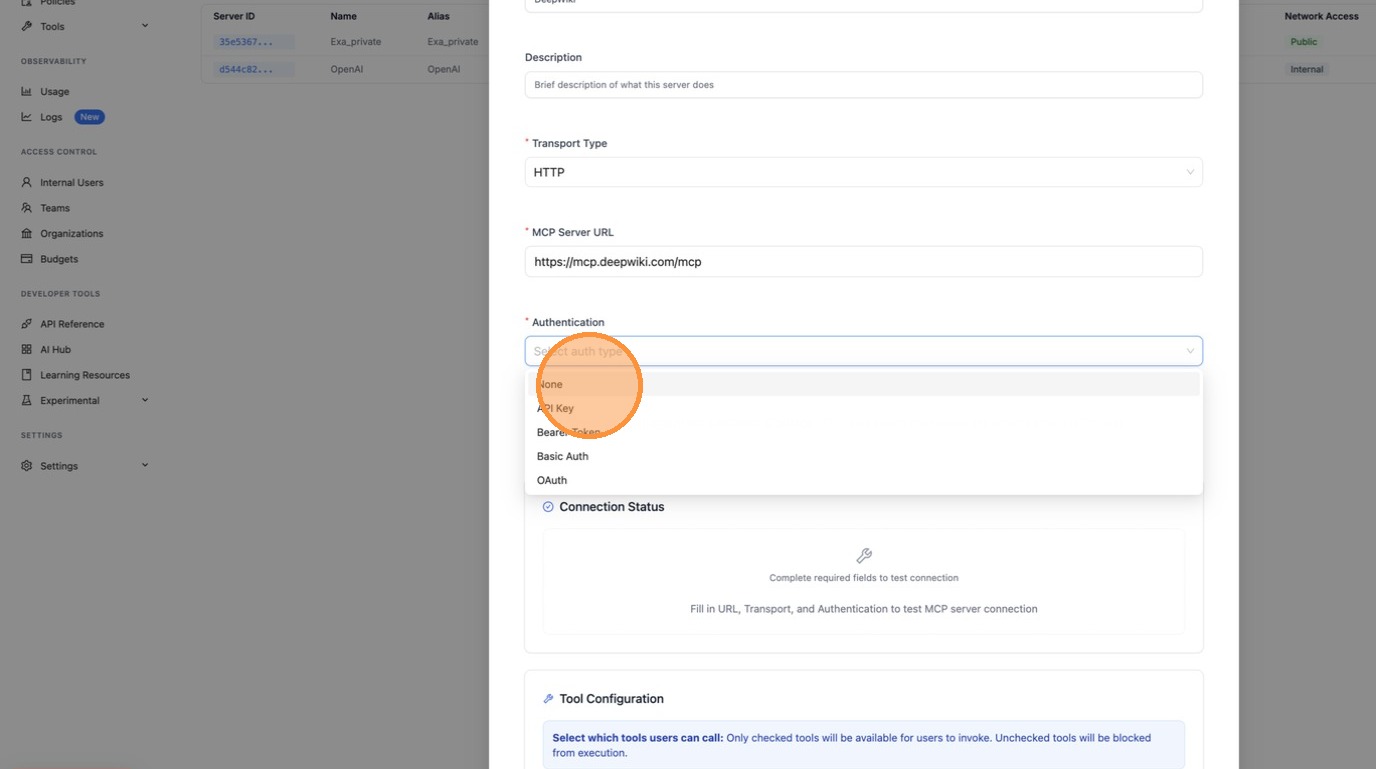
Select HTTP as the transport type.
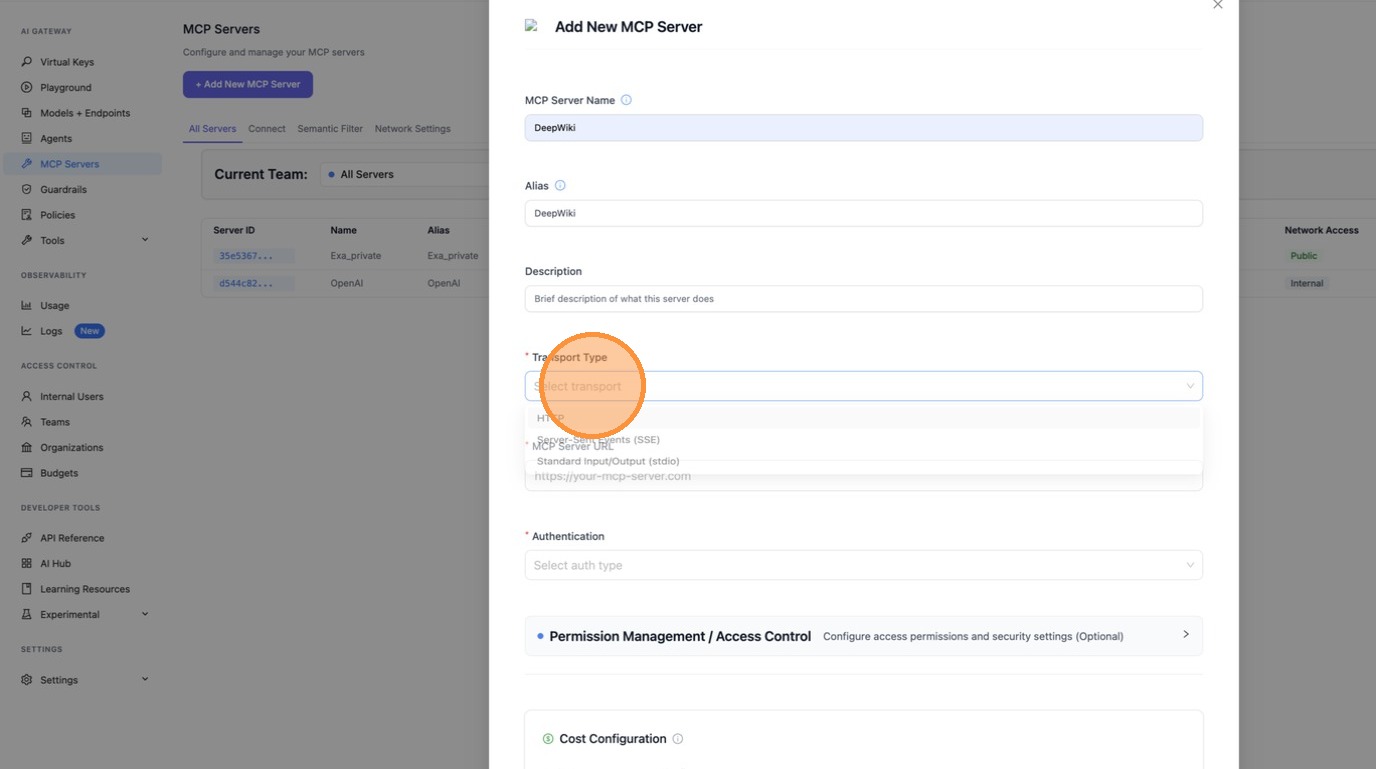
Fill in the MCP Server URL.
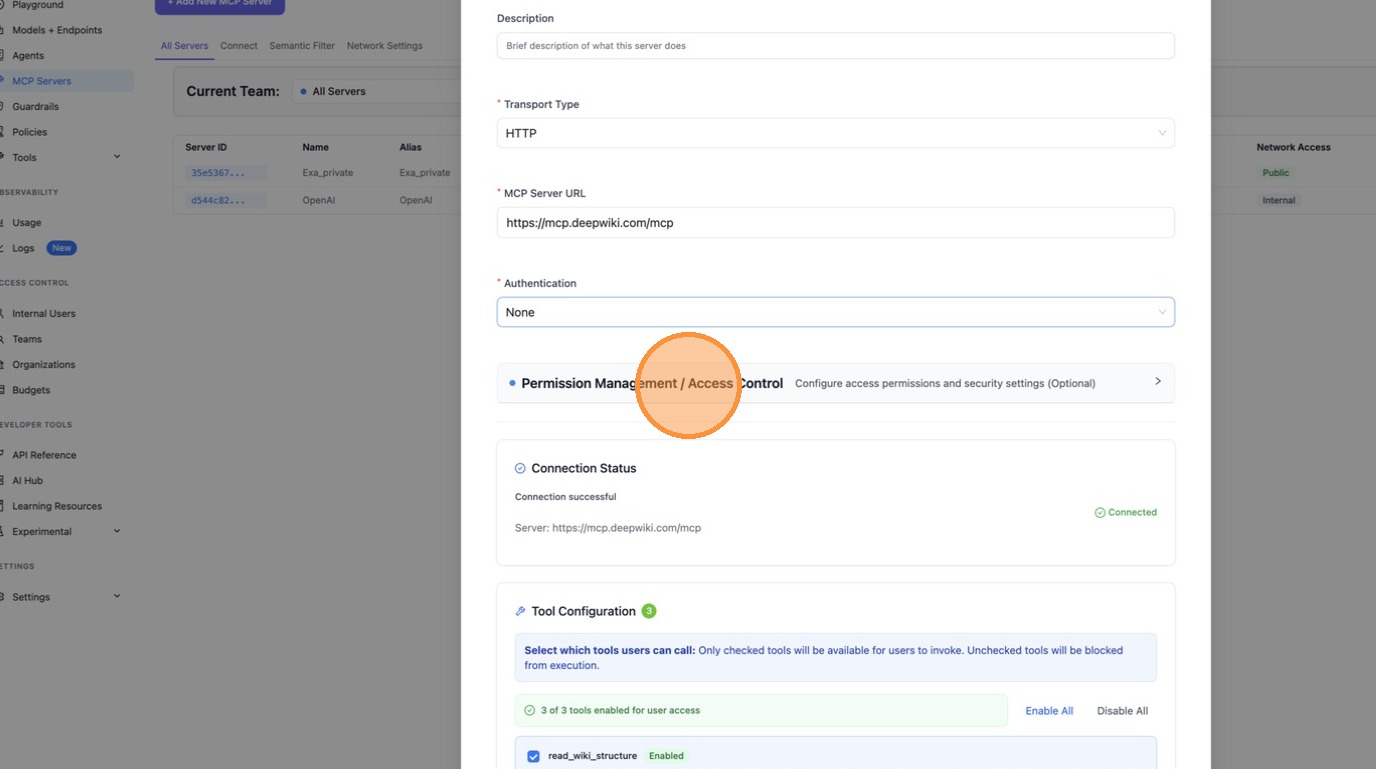
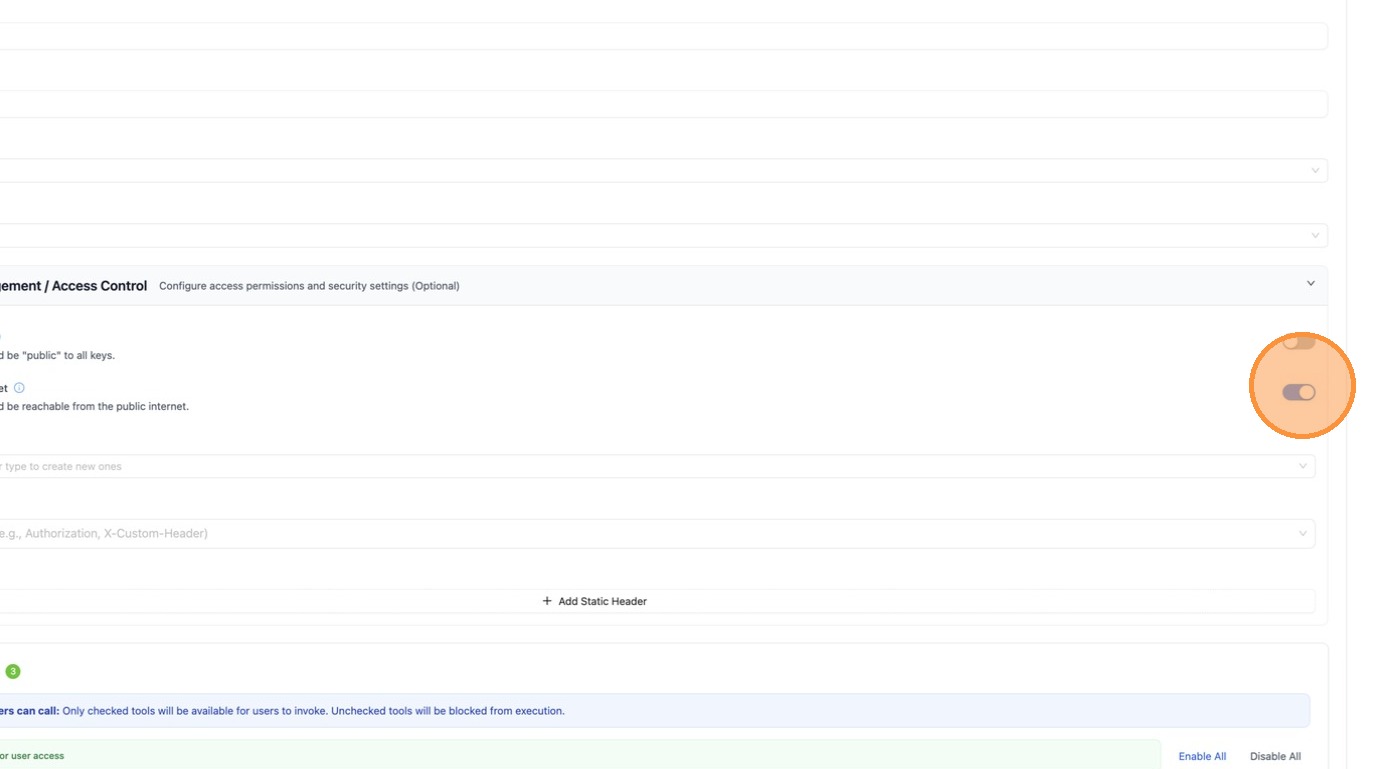
Step 2: Enable "Available on Public Internet"
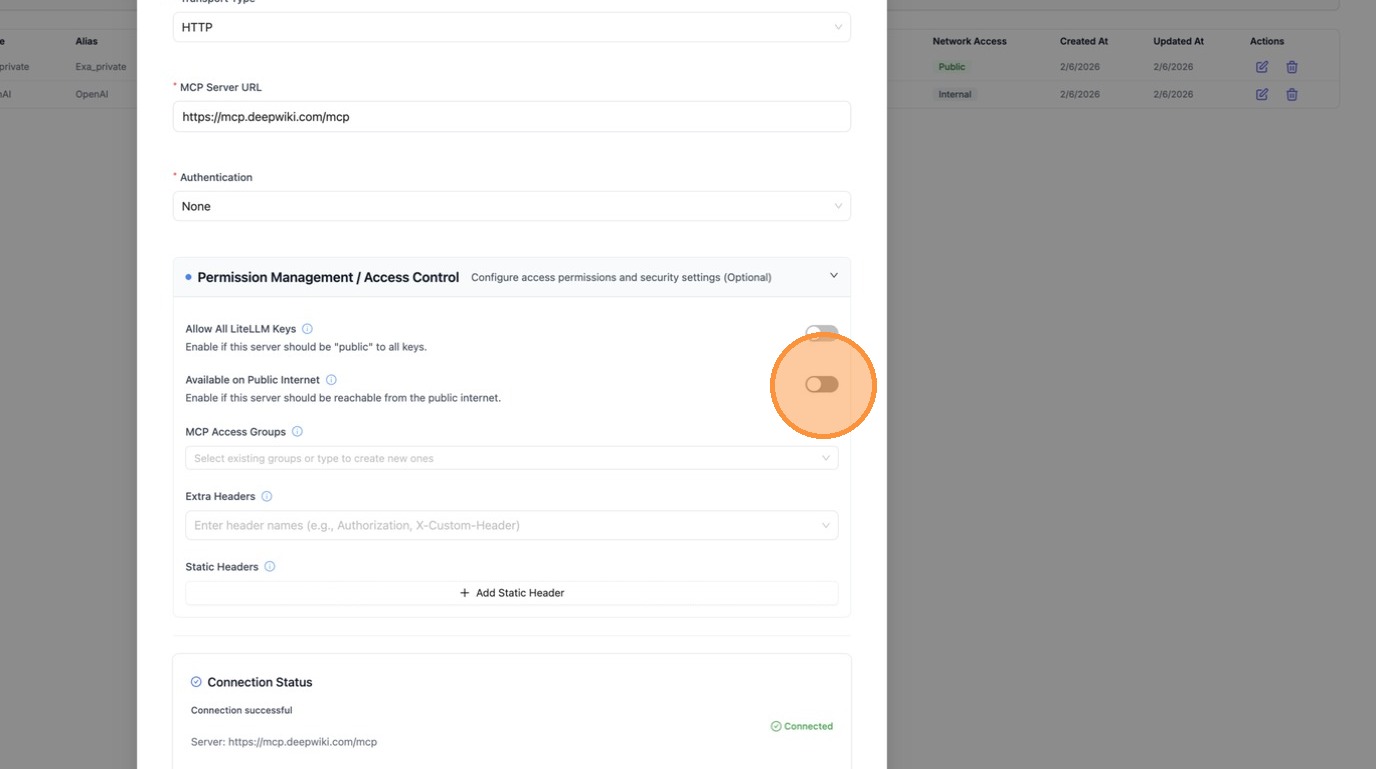
Expand Permission Management / Access Control and toggle "Available on Public Internet" on. This ensures external callers (like ChatGPT) can discover this server.
Click "Create" to save the server.

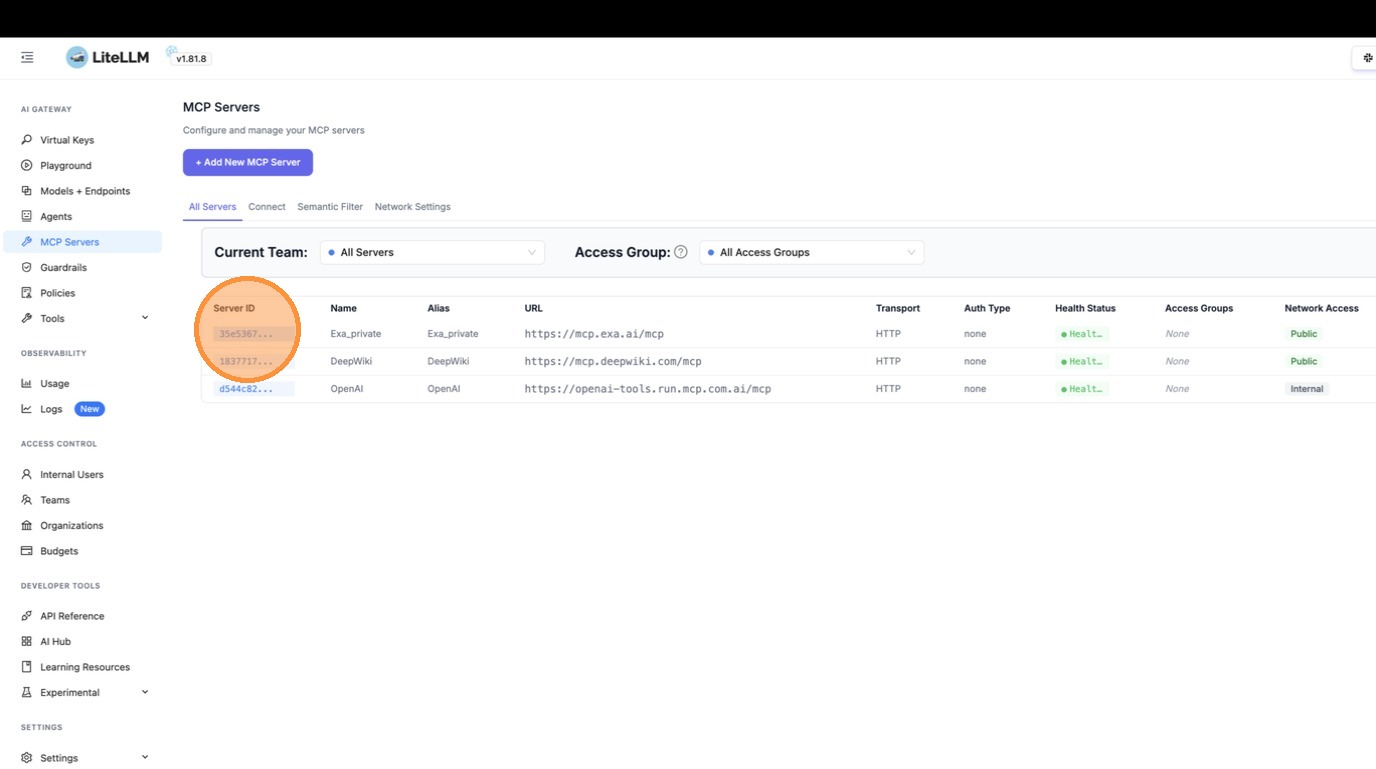
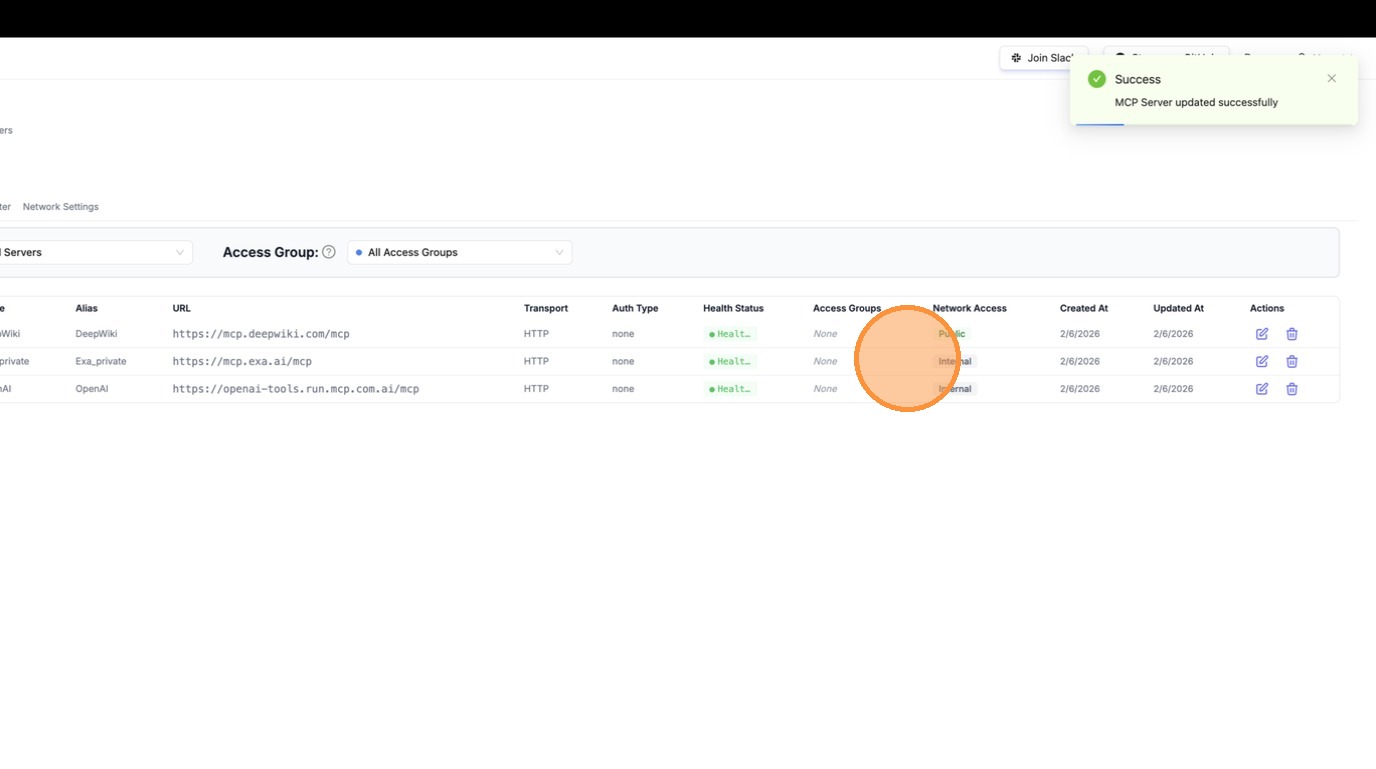
The server is now created and visible in the table with a "Public" badge under Network Access.
Step 3: Connect from ChatGPT
Open ChatGPT and add a new MCP server. The endpoint to use is:
<your-litellm-url>/mcp
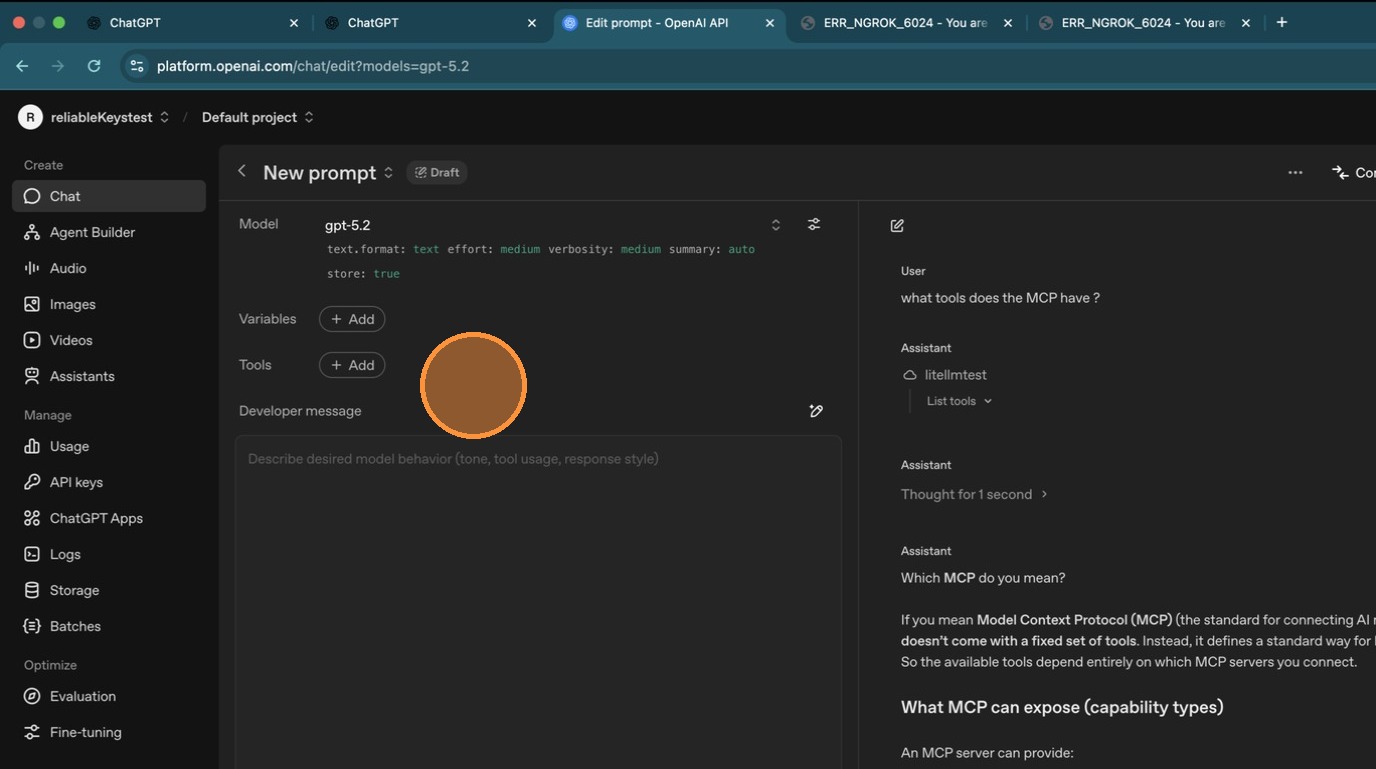
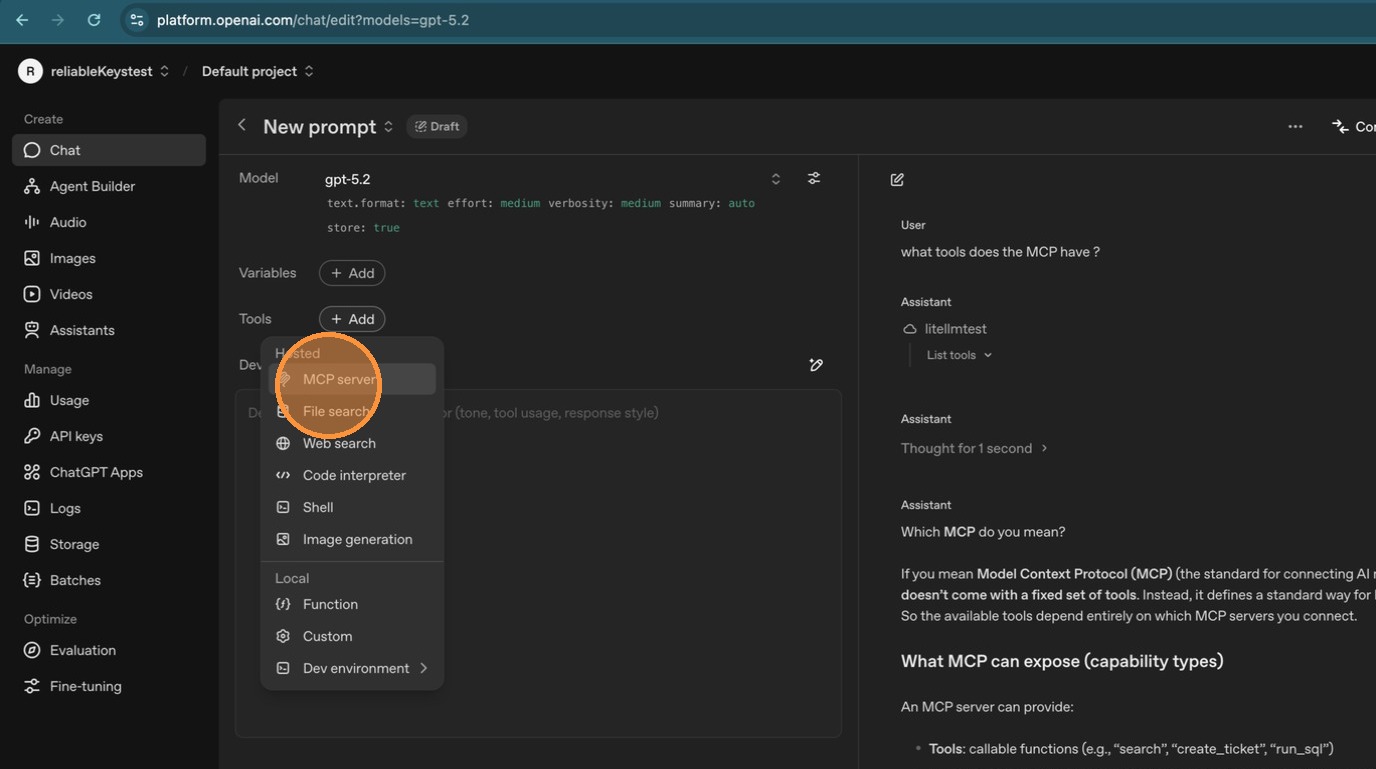
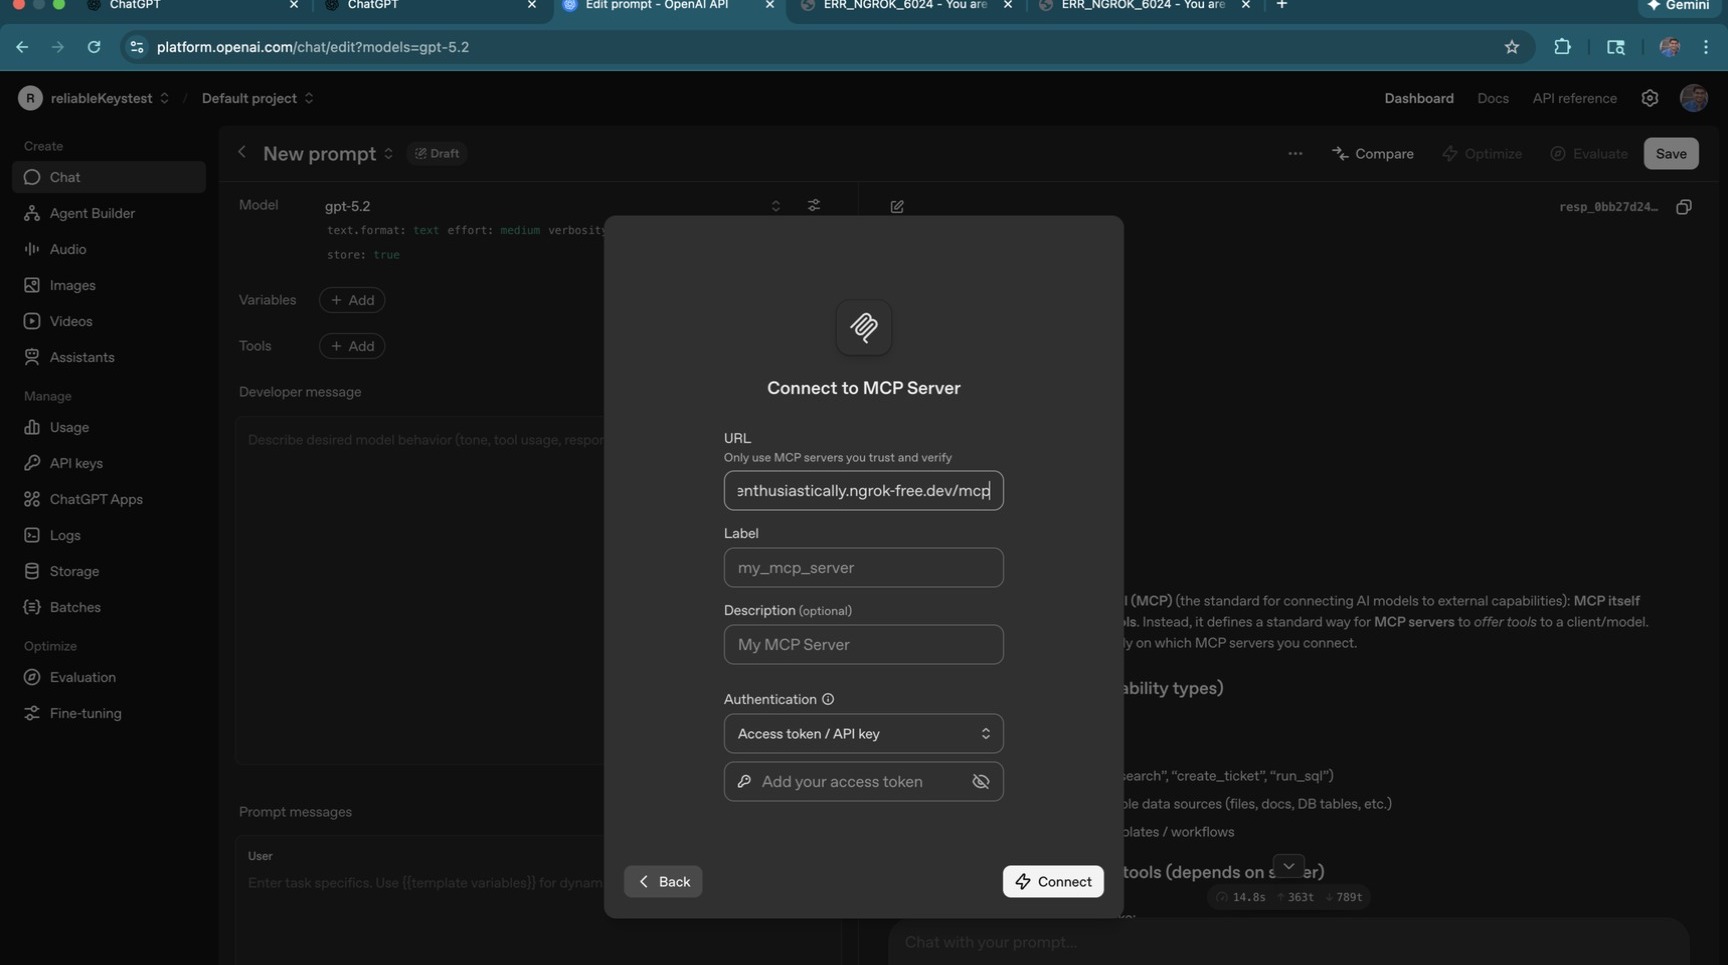
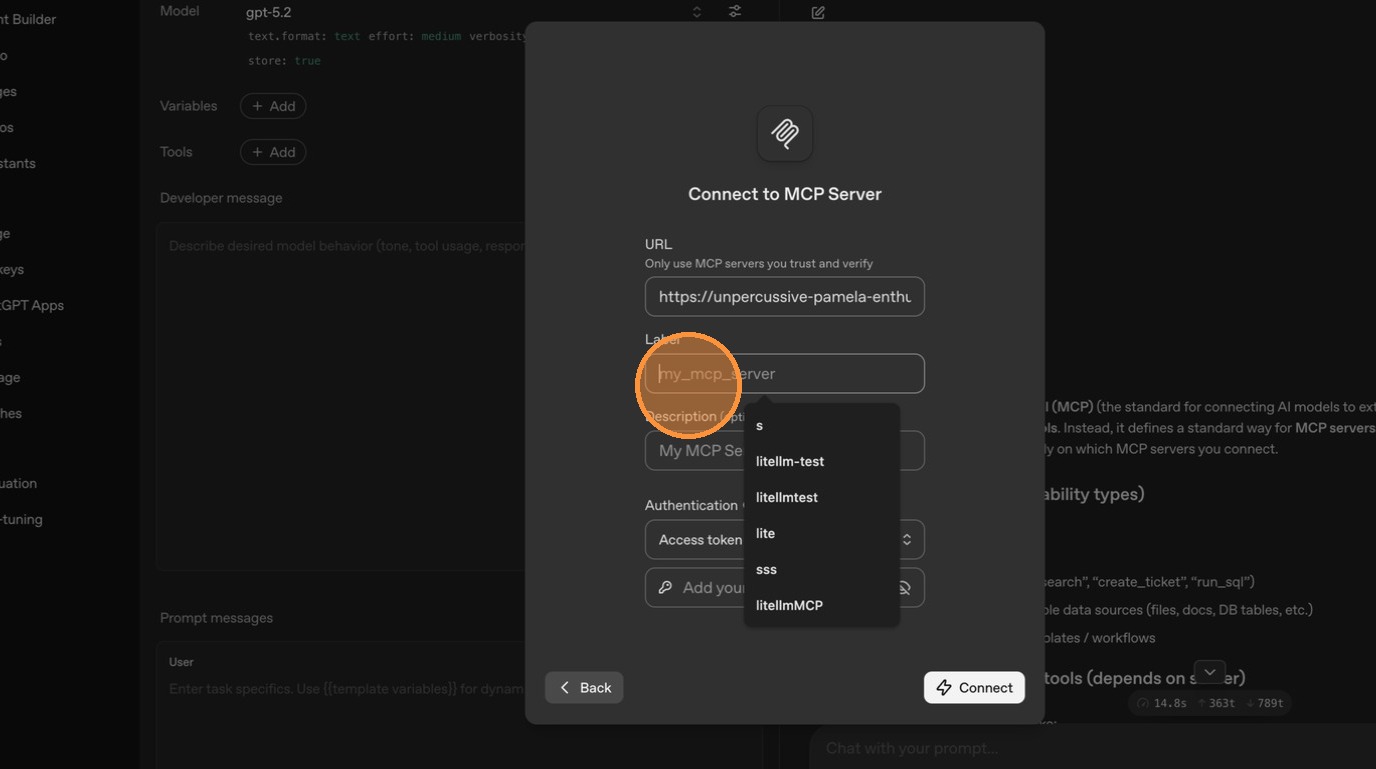
Click the MCP server icon in ChatGPT to add a new connection.
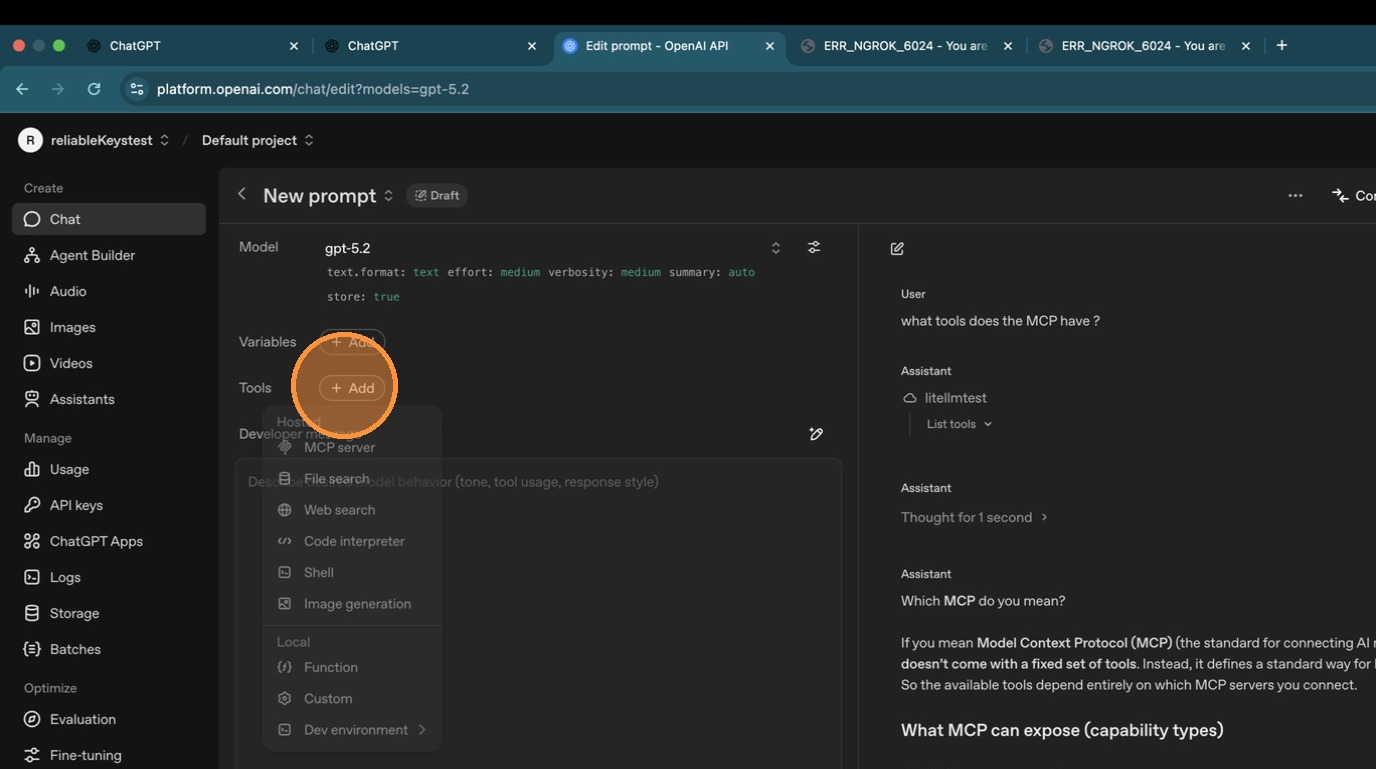
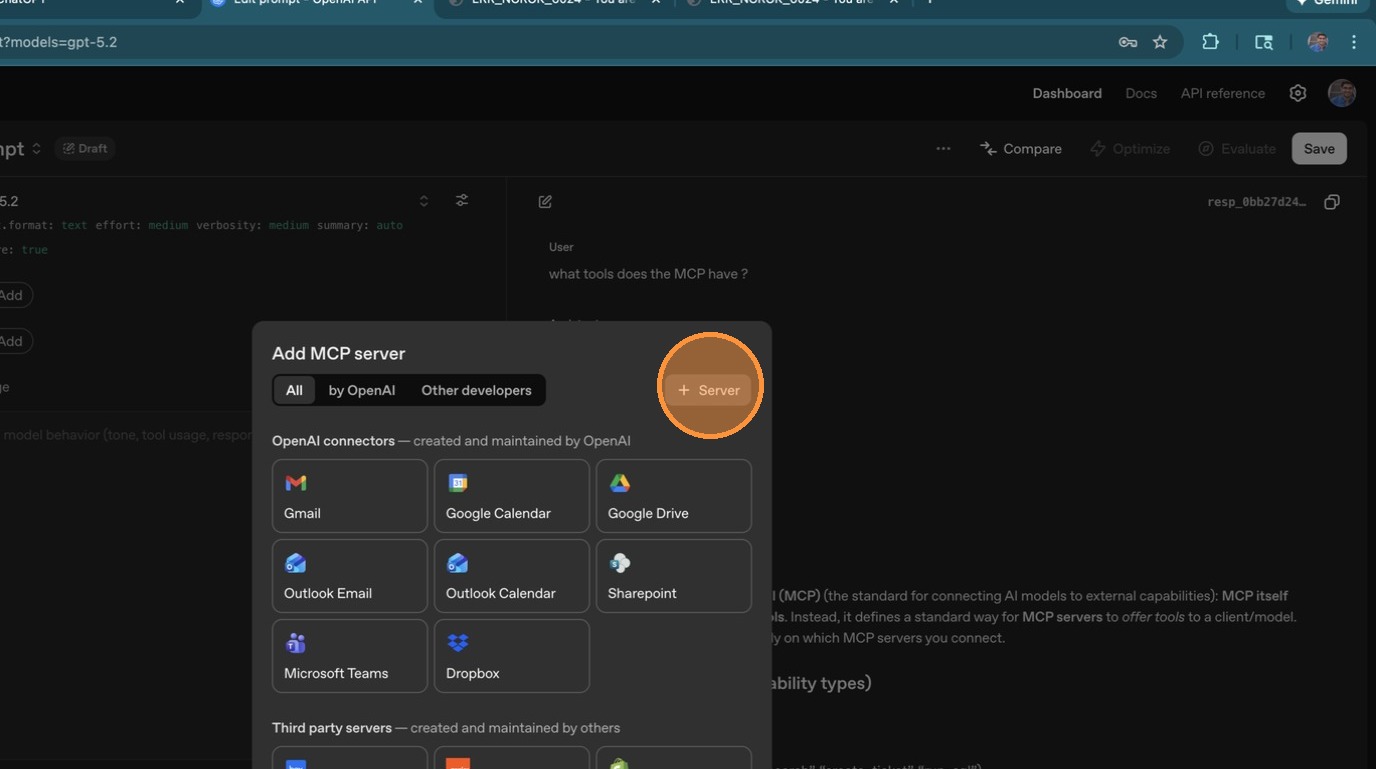
Select "Add an MCP server".
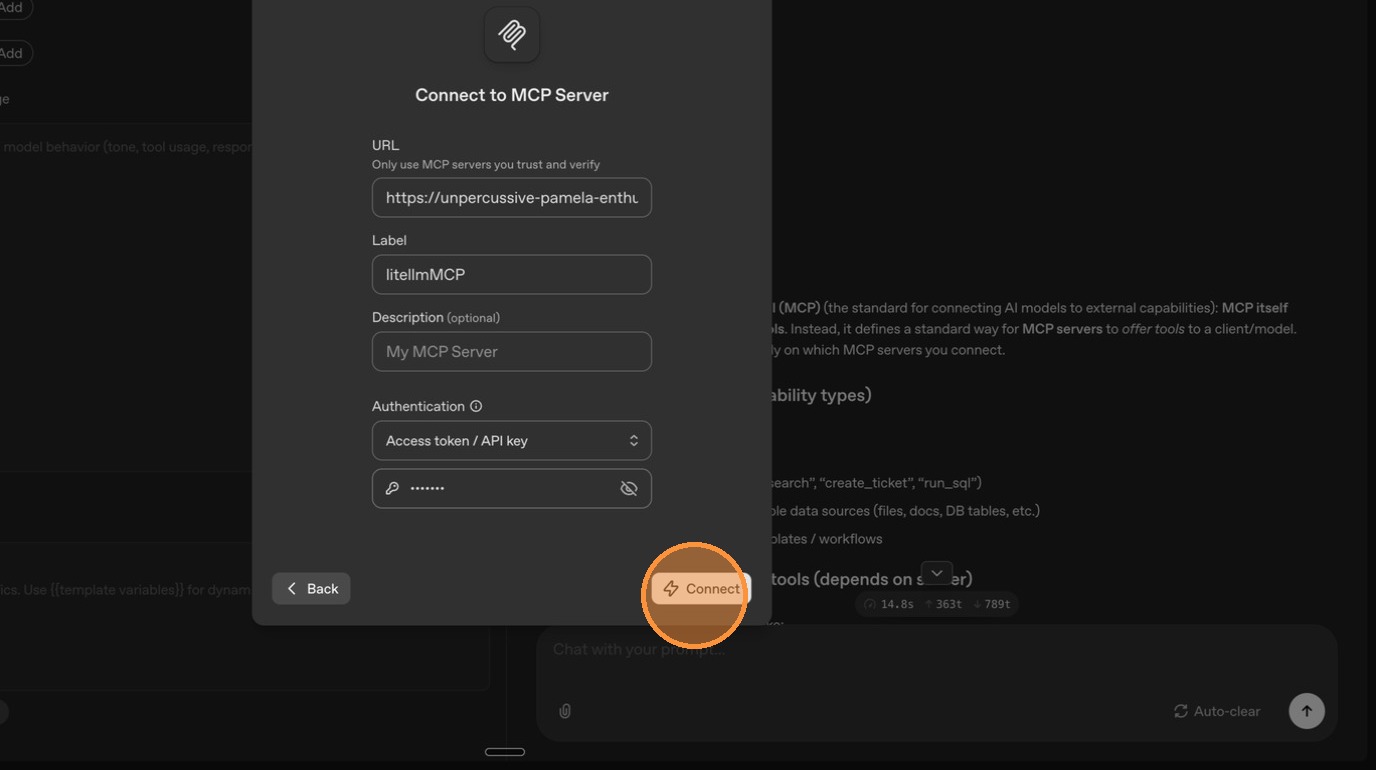
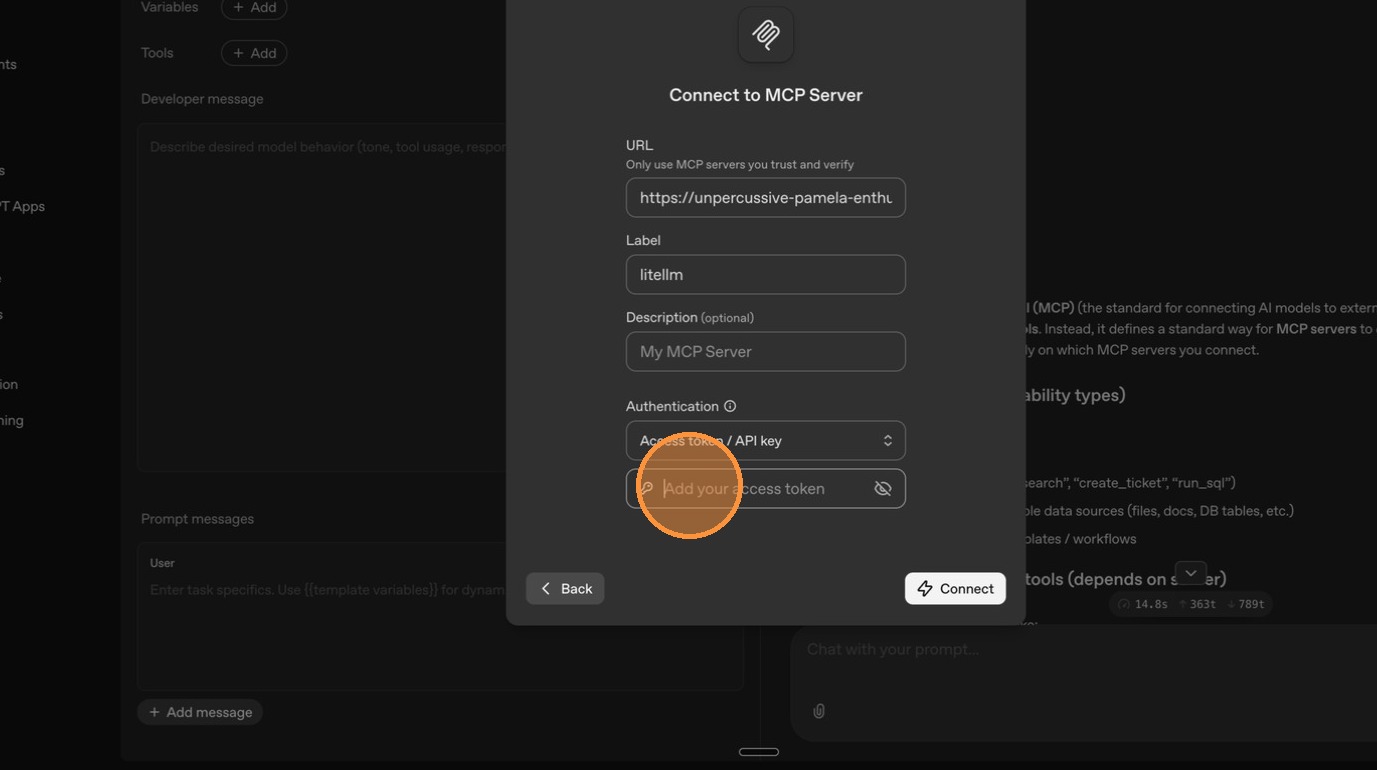
Enter a label for the server.
Paste your LiteLLM MCP URL (<your-litellm-url>/mcp).
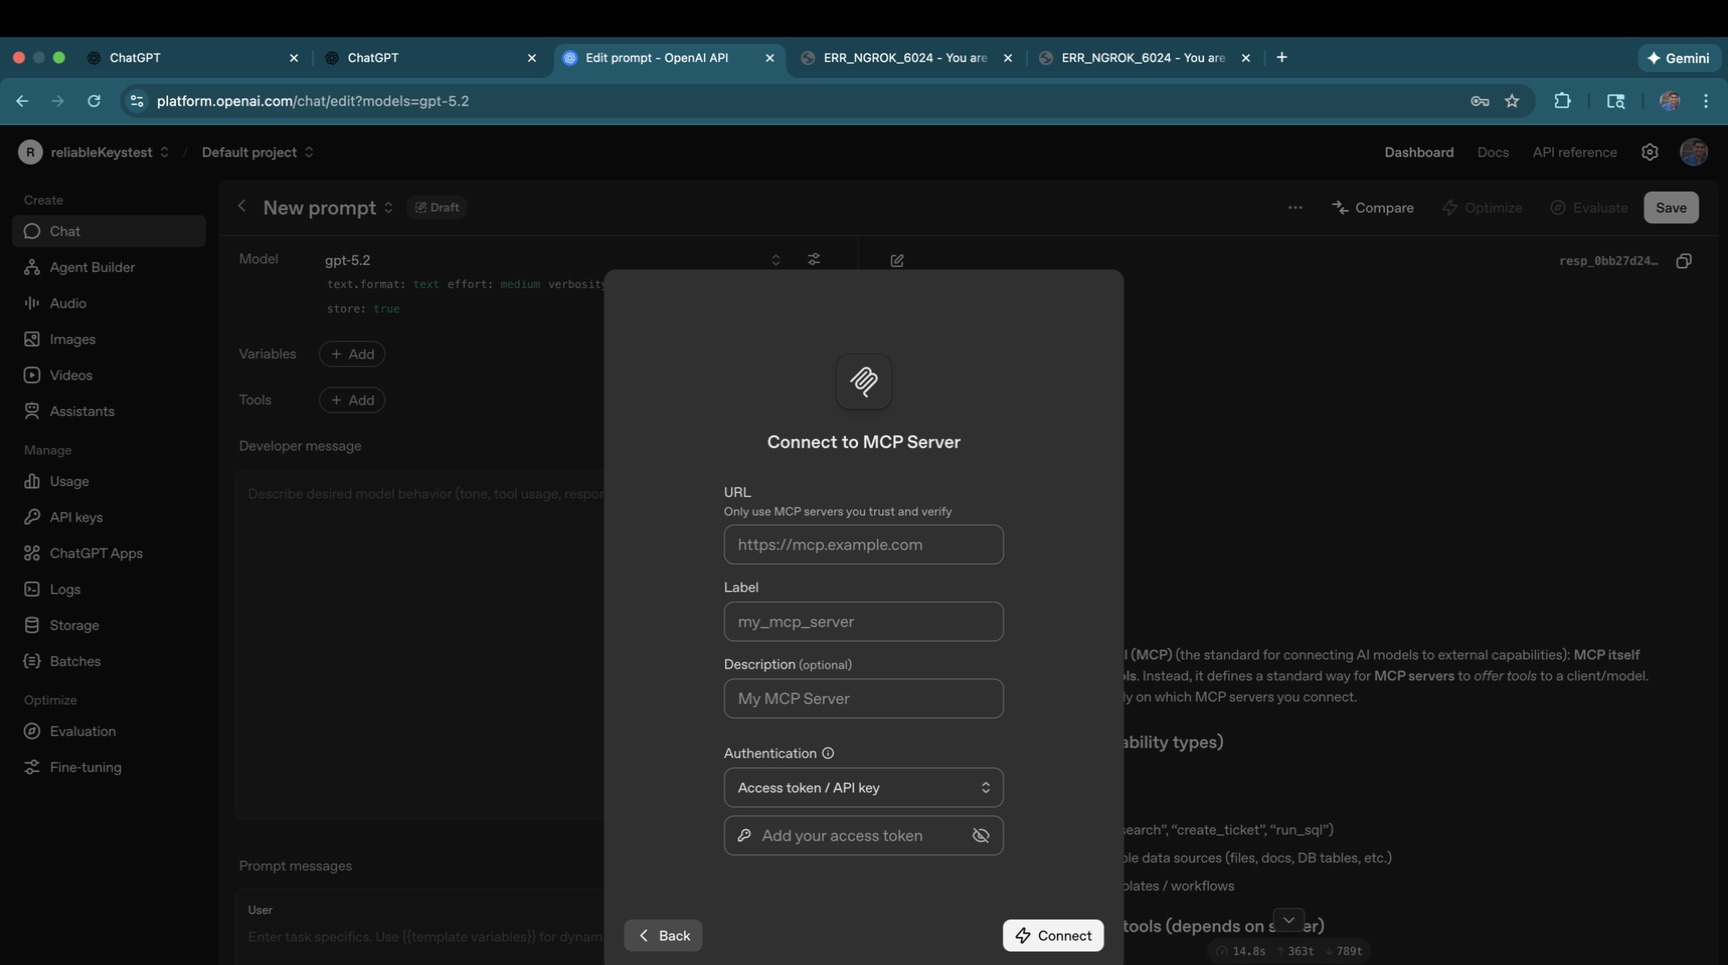
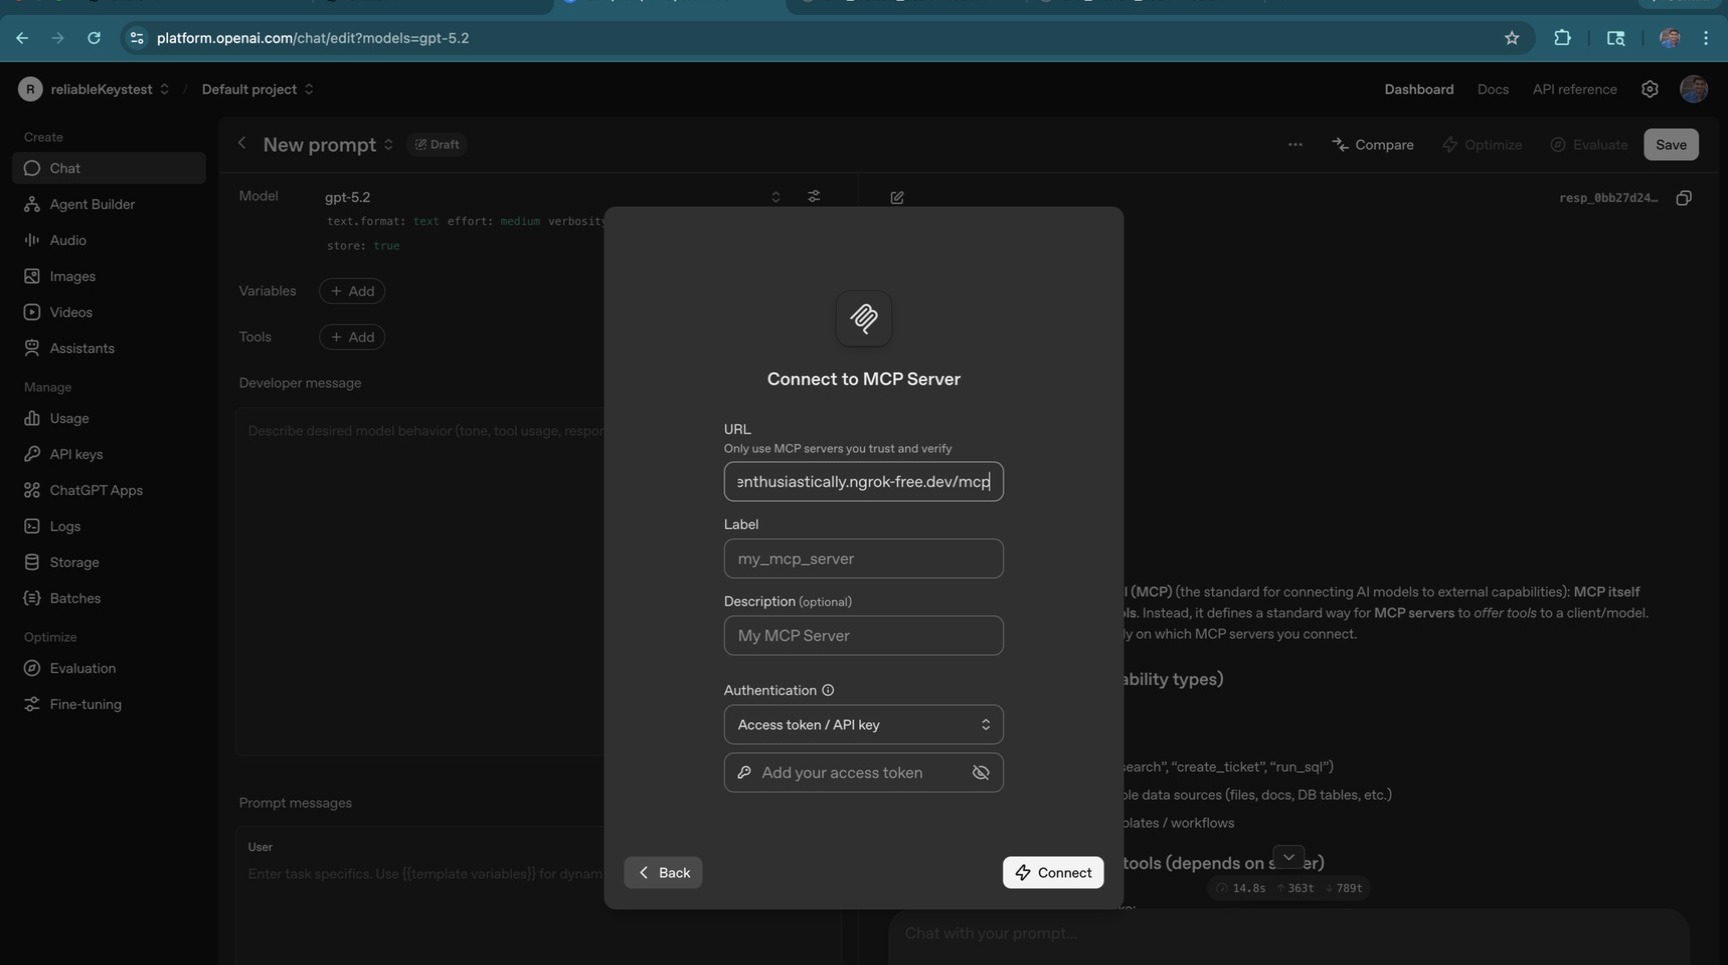
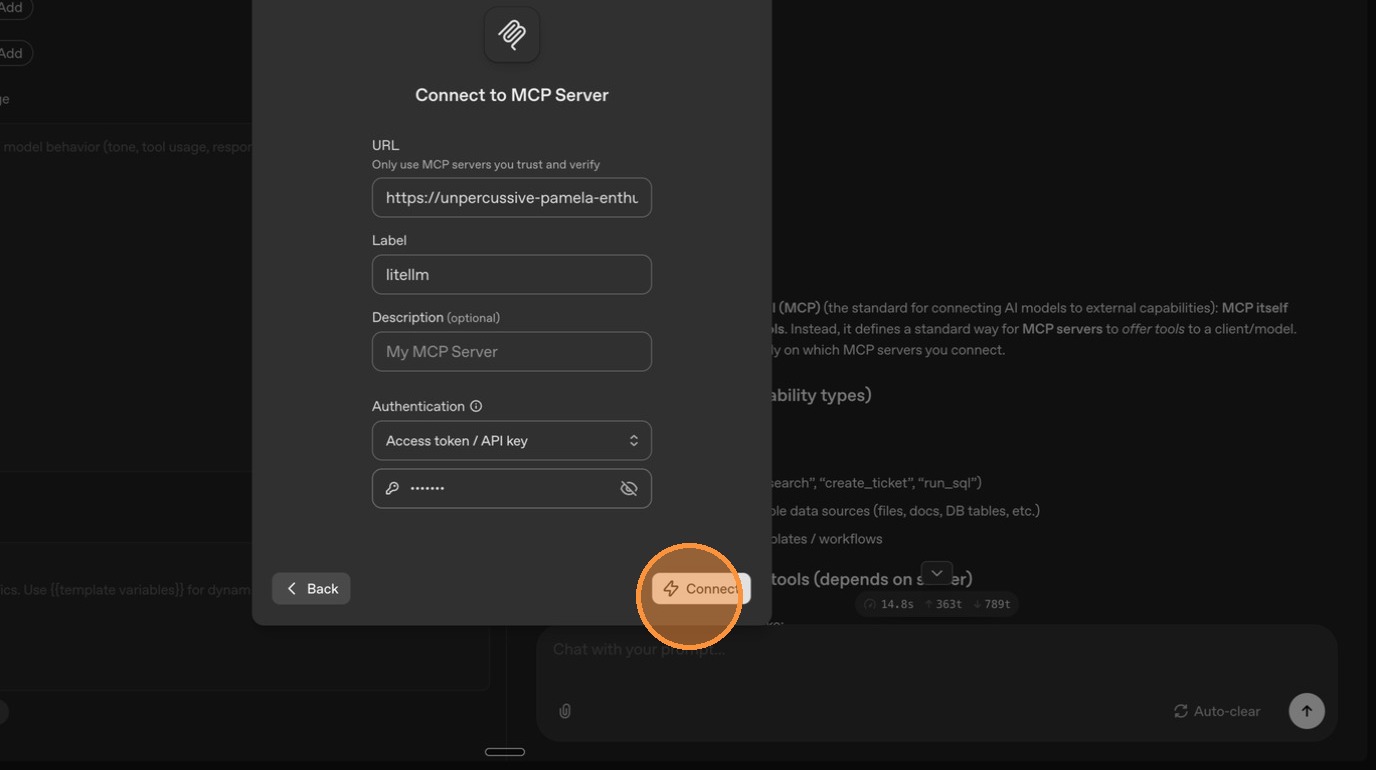
Enter your LiteLLM API key in the authentication field.

Click "Connect".
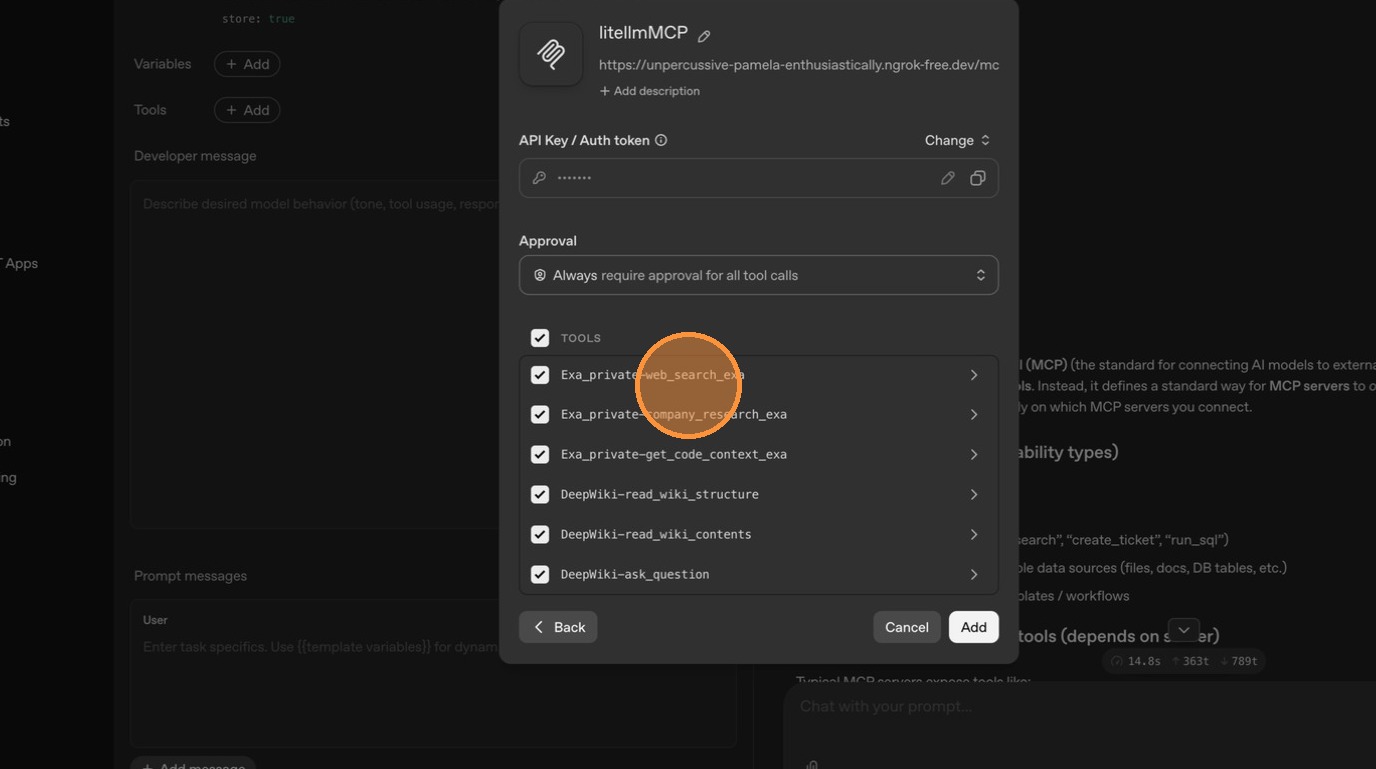
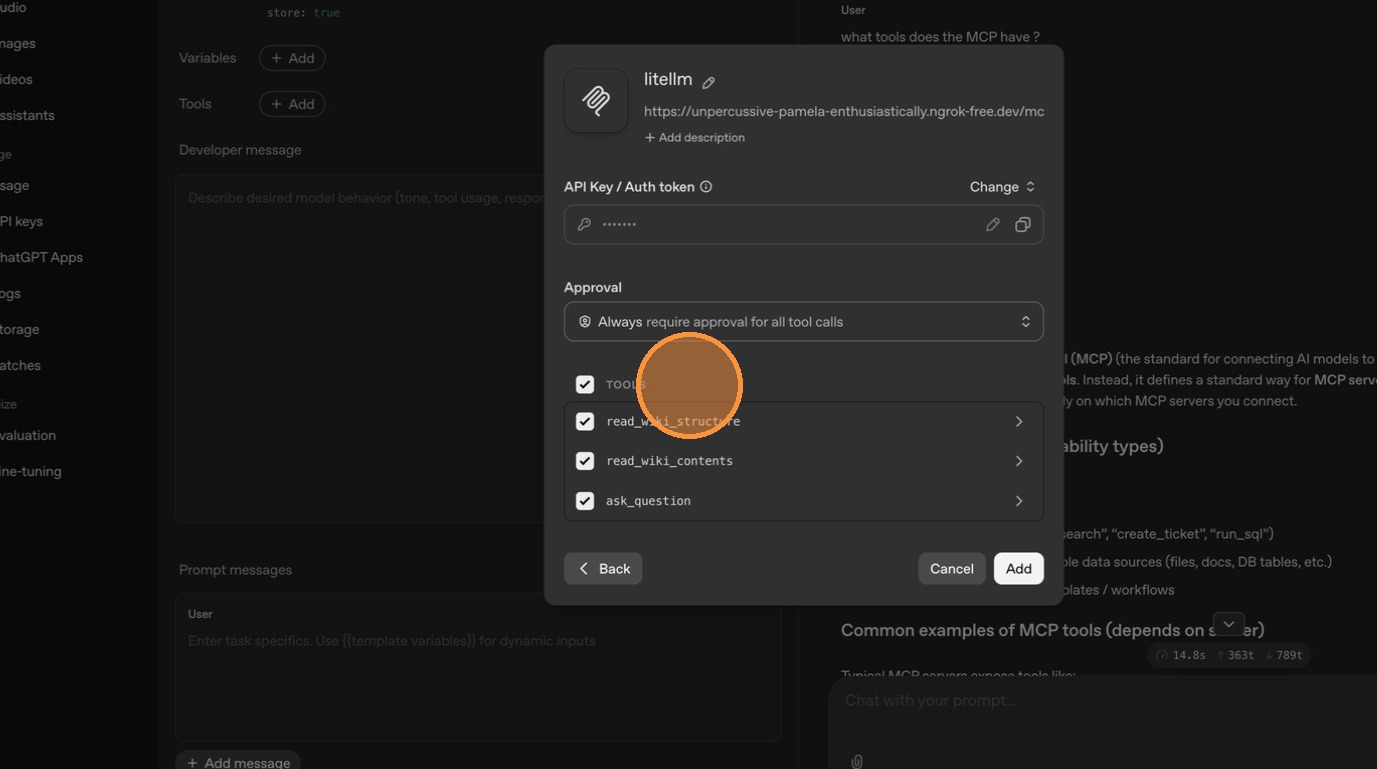
ChatGPT now shows the available tools from your public MCP servers. Since DeepWiki is marked as public, its tools appear here.
Flow 2: Make an Existing Server Private (Exa)
Now let's restrict an existing MCP server so it's no longer visible to external callers like ChatGPT.
Step 1: Edit the Server
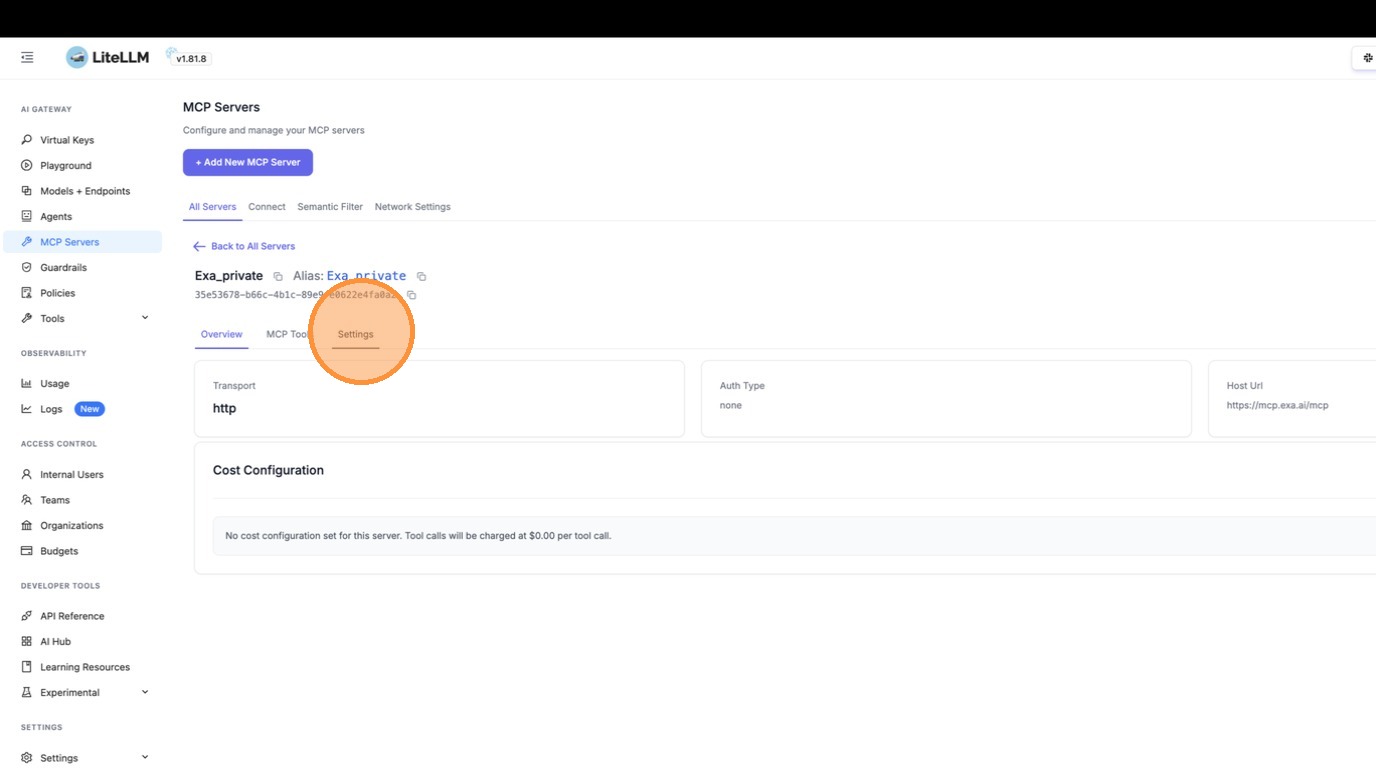
Navigate to the Exa server and click to view its details.
Click "Settings" to edit.
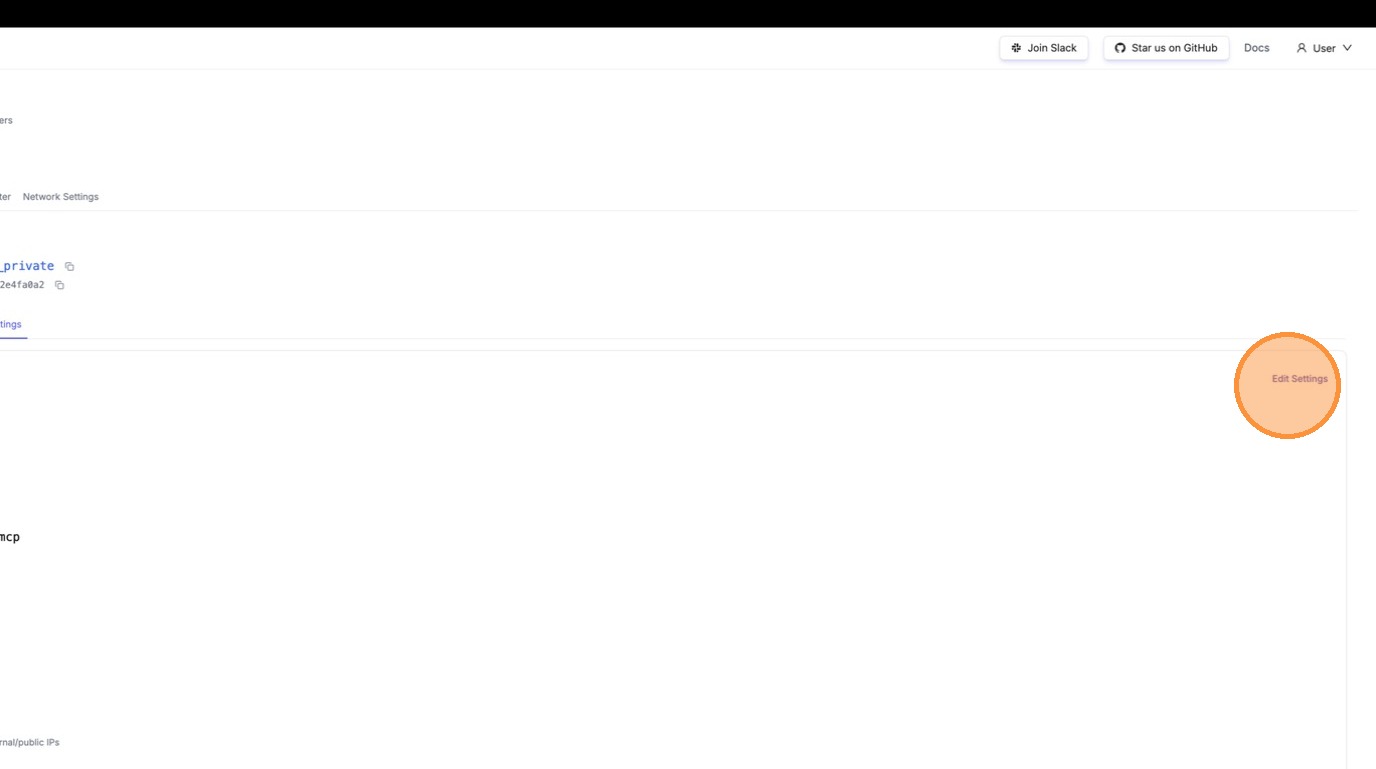
Step 2: Toggle Off "Available on Public Internet"
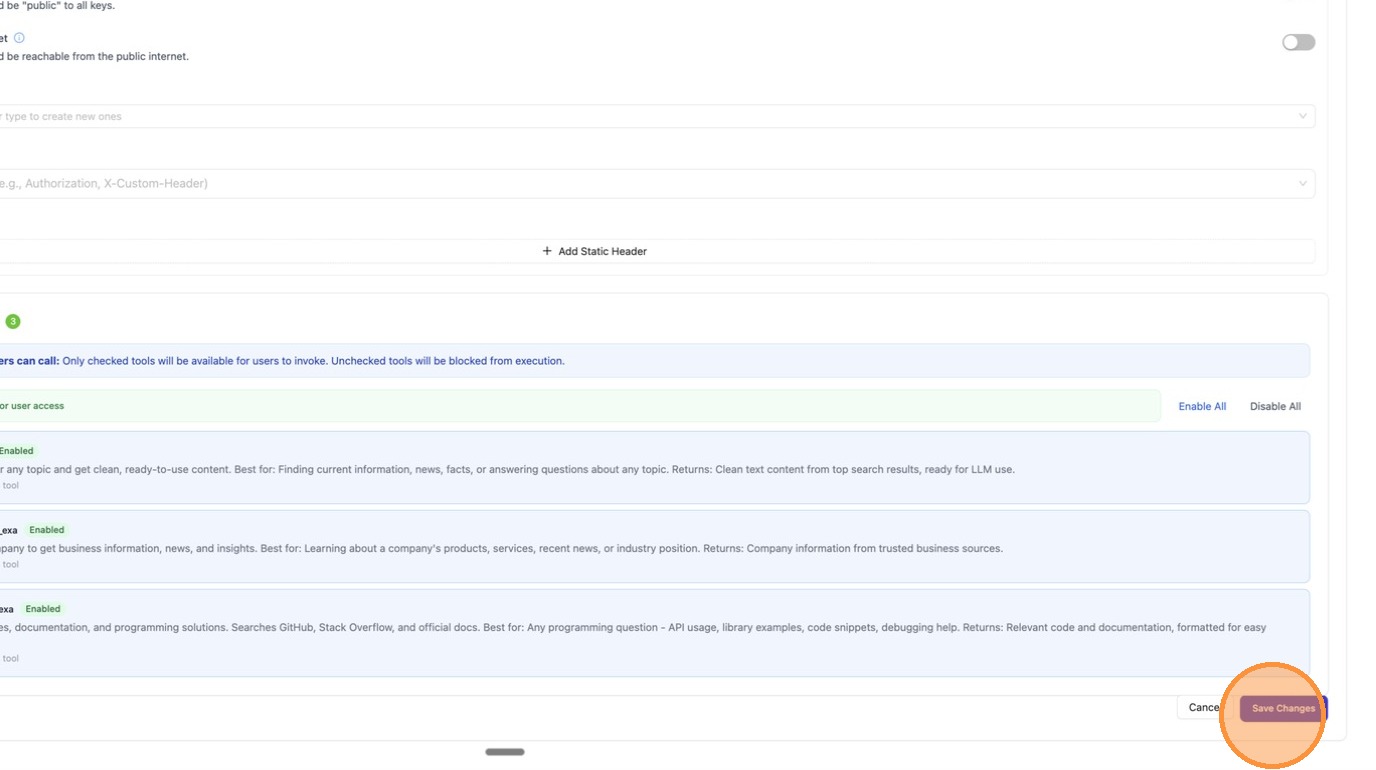
Expand Permission Management / Access Control.
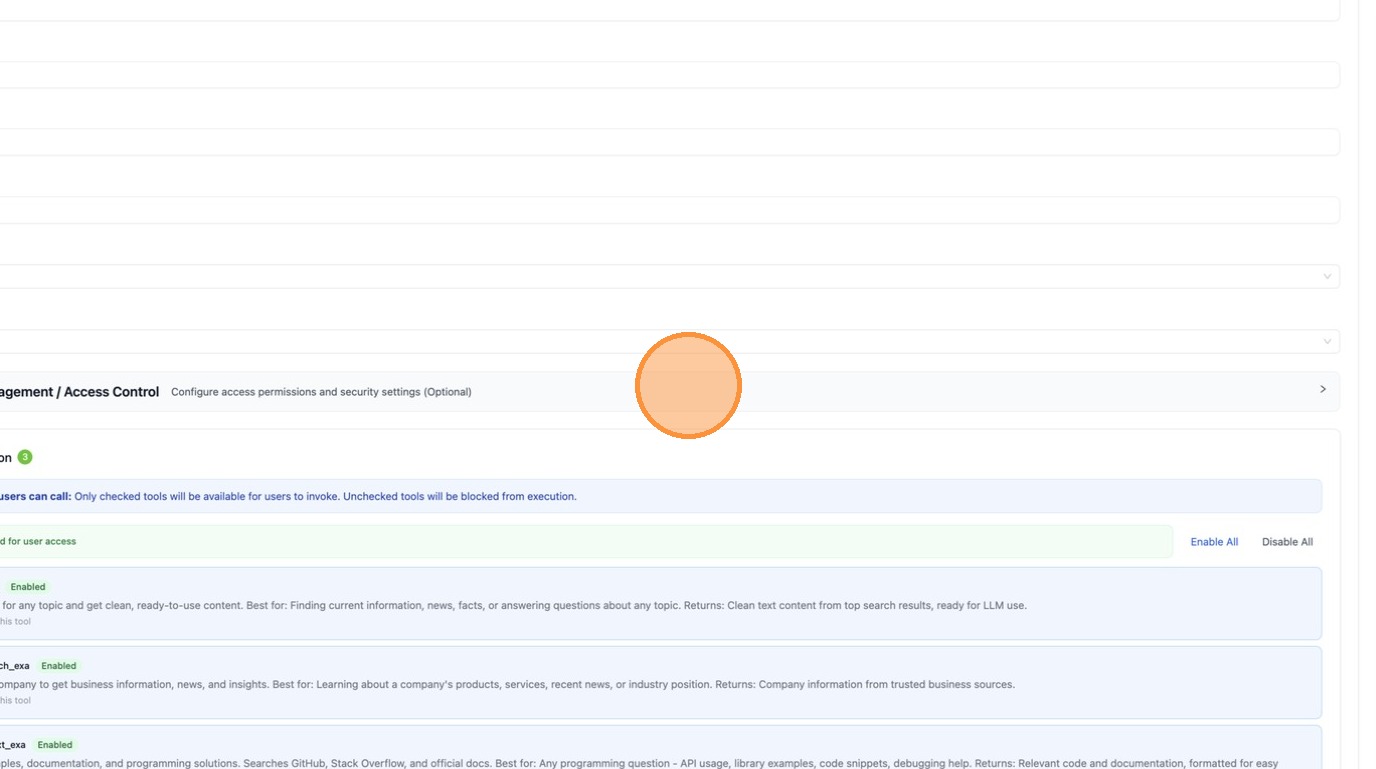
Toggle "Available on Public Internet" off.
Click "Save Changes".
Step 3: Verify in ChatGPT
Go back to ChatGPT and reconnect to the LiteLLM MCP server.

Only DeepWiki tools are visible now — Exa has been successfully restricted to internal access only.
Configuration Reference
Per-Server Setting
- UI
- config.yaml
- API
Toggle "Available on Public Internet" in the Permission Management section when creating or editing an MCP server.
mcp_servers:
  deepwiki:
    url: https://mcp.deepwiki.com/mcp
    available_on_public_internet: true   # visible to external callers

  exa:
    url: https://exa.ai/mcp
    auth_type: api_key
    auth_value: os.environ/EXA_API_KEY
    available_on_public_internet: false  # internal only (default)
curl -X POST <your-litellm-url>/v1/mcp/server \
  -H "Authorization: Bearer sk-..." \
  -H "Content-Type: application/json" \
  -d '{
    "server_name": "DeepWiki",
    "url": "https://mcp.deepwiki.com/mcp",
    "transport": "http",
    "available_on_public_internet": true
  }'
curl -X PUT <your-litellm-url>/v1/mcp/server \
  -H "Authorization: Bearer sk-..." \
  -H "Content-Type: application/json" \
  -d '{
    "server_id": "<server-id>",
    "available_on_public_internet": false
  }'
Custom Private IP Ranges
By default, LiteLLM treats RFC 1918 private ranges as internal. You can customize this in the Network Settings tab under MCP Servers, or via config:
general_settings:
  mcp_internal_ip_ranges:
    - "10.0.0.0/8"
    - "172.16.0.0/12"
    - "192.168.0.0/16"
    - "100.64.0.0/10"    # Add your VPN/Tailscale range
When empty, the standard private ranges are used (10.0.0.0/8, 172.16.0.0/12, 192.168.0.0/16, 127.0.0.0/8).